A remote server in Japan for crypto trading.

In this article, we will talk about a remote server where we trade ourselves. And this is a brief instruction on how it is set up.
This provider is suitable only for cryptocurrency exchanges.
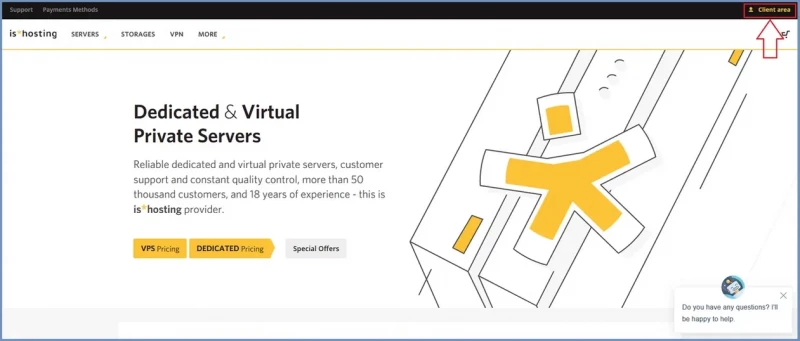
To register, you need to go to this link to the official website.
In the top right corner, click on the "Client area" button:
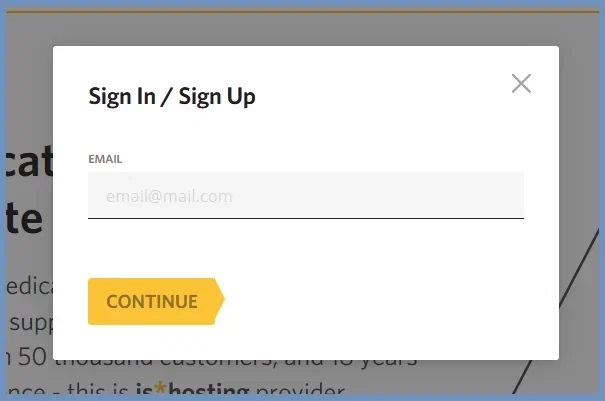
We see the registration window, enter your email and click "Continue":
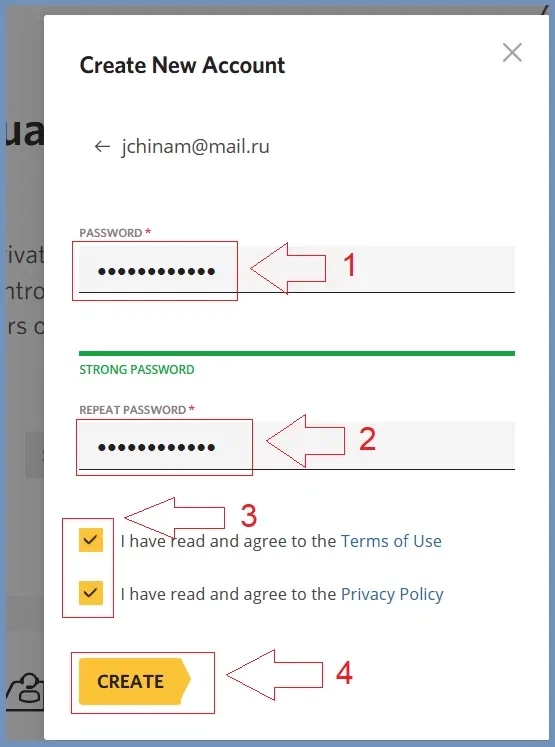
This is a standard registration procedure. After that, you will receive an email. Confirm your email by clicking on the link provided in the email.
Now we proceed to purchase the server.
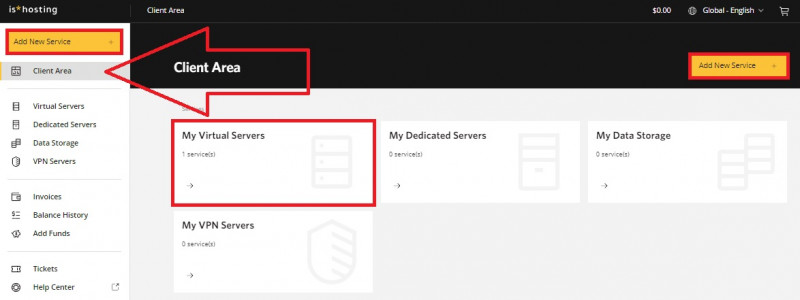
You can use the "Add New Service" buttons or go to your personal account, then to "My Virtual Servers".
A window with virtual server tariffs will open. Choose the location (Japan in our case) and the Windows platform.

If you plan to run a single OsEngine and have low load, choose the Medium option.
If you will be running two or more terminals simultaneously, choose Premium.
Next, click on "Select".
The "Virtual Server Setup" window will open, where you can adjust the settings according to your preference.
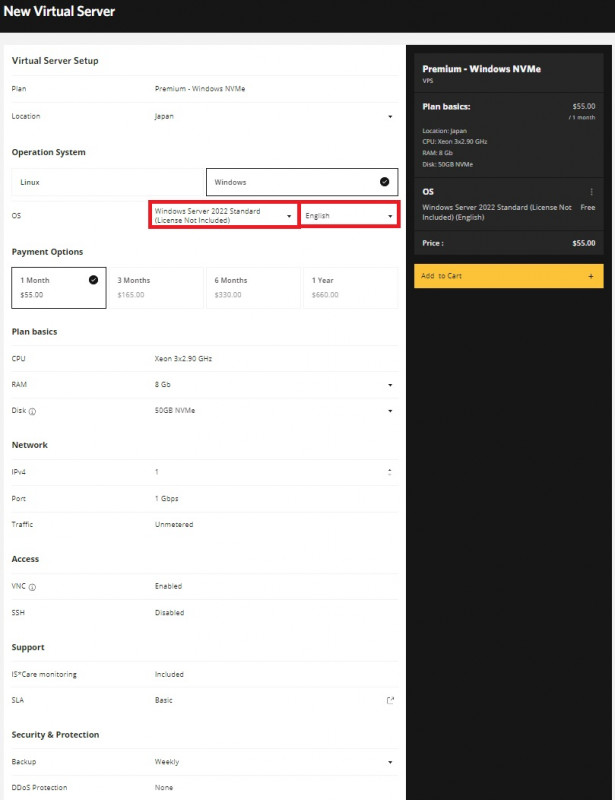
Add it to the cart. You can proceed to order completion.
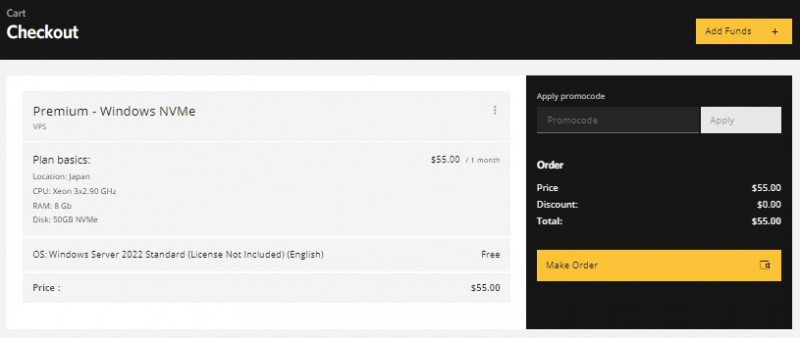
Fill out the form fields, save it. Choose a payment method and make the payment.
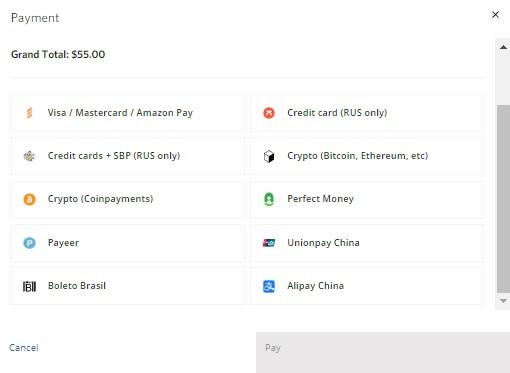
After payment, you will receive an email with a description of the purchased server and its data, which you must save.
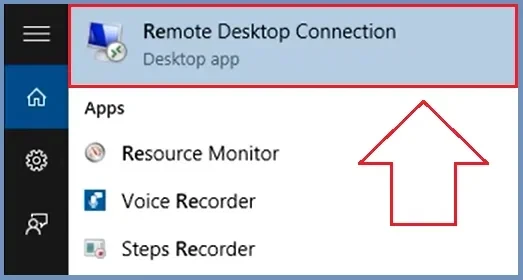
To start the remote server, in the search bar of your home Windows, start typing the word "remote".
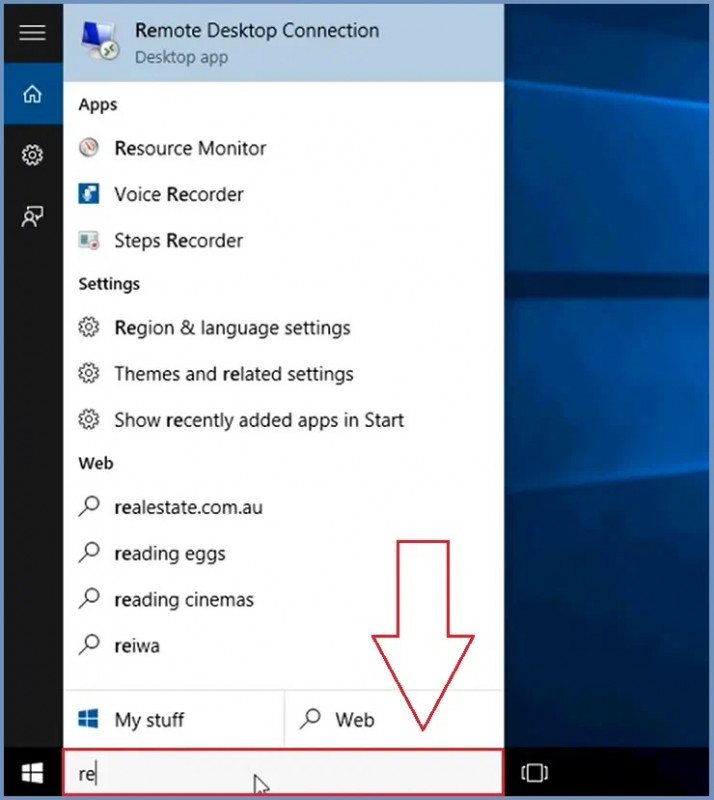
Next, select "Remote Desktop Connection".
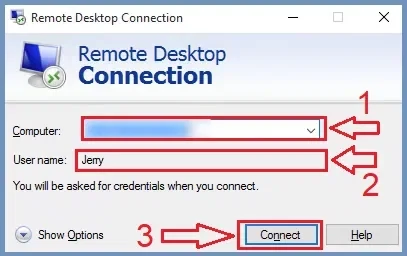
Fill in the fields of the opened window with the saved data from the email:
1. IP.
2. Username.
3. Click "Connect".
Then:
- Enter the password.
- Click "OK".
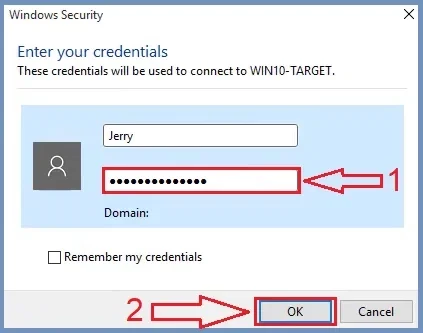
Connection established.
Wishing you successful tests and profitable trading!
PS: If you encounter any issues or have any questions, feel free to contact our support chat, link.